


Beauty and the Bust: Build Fast Clay Renders in Redshift
Create tactile, hand-sculpted clay bust renders in Cinema 4D in minutes, not hours, using Redshift and Greyscalegorilla Studio. Fast, artistic workflows. Real materials.
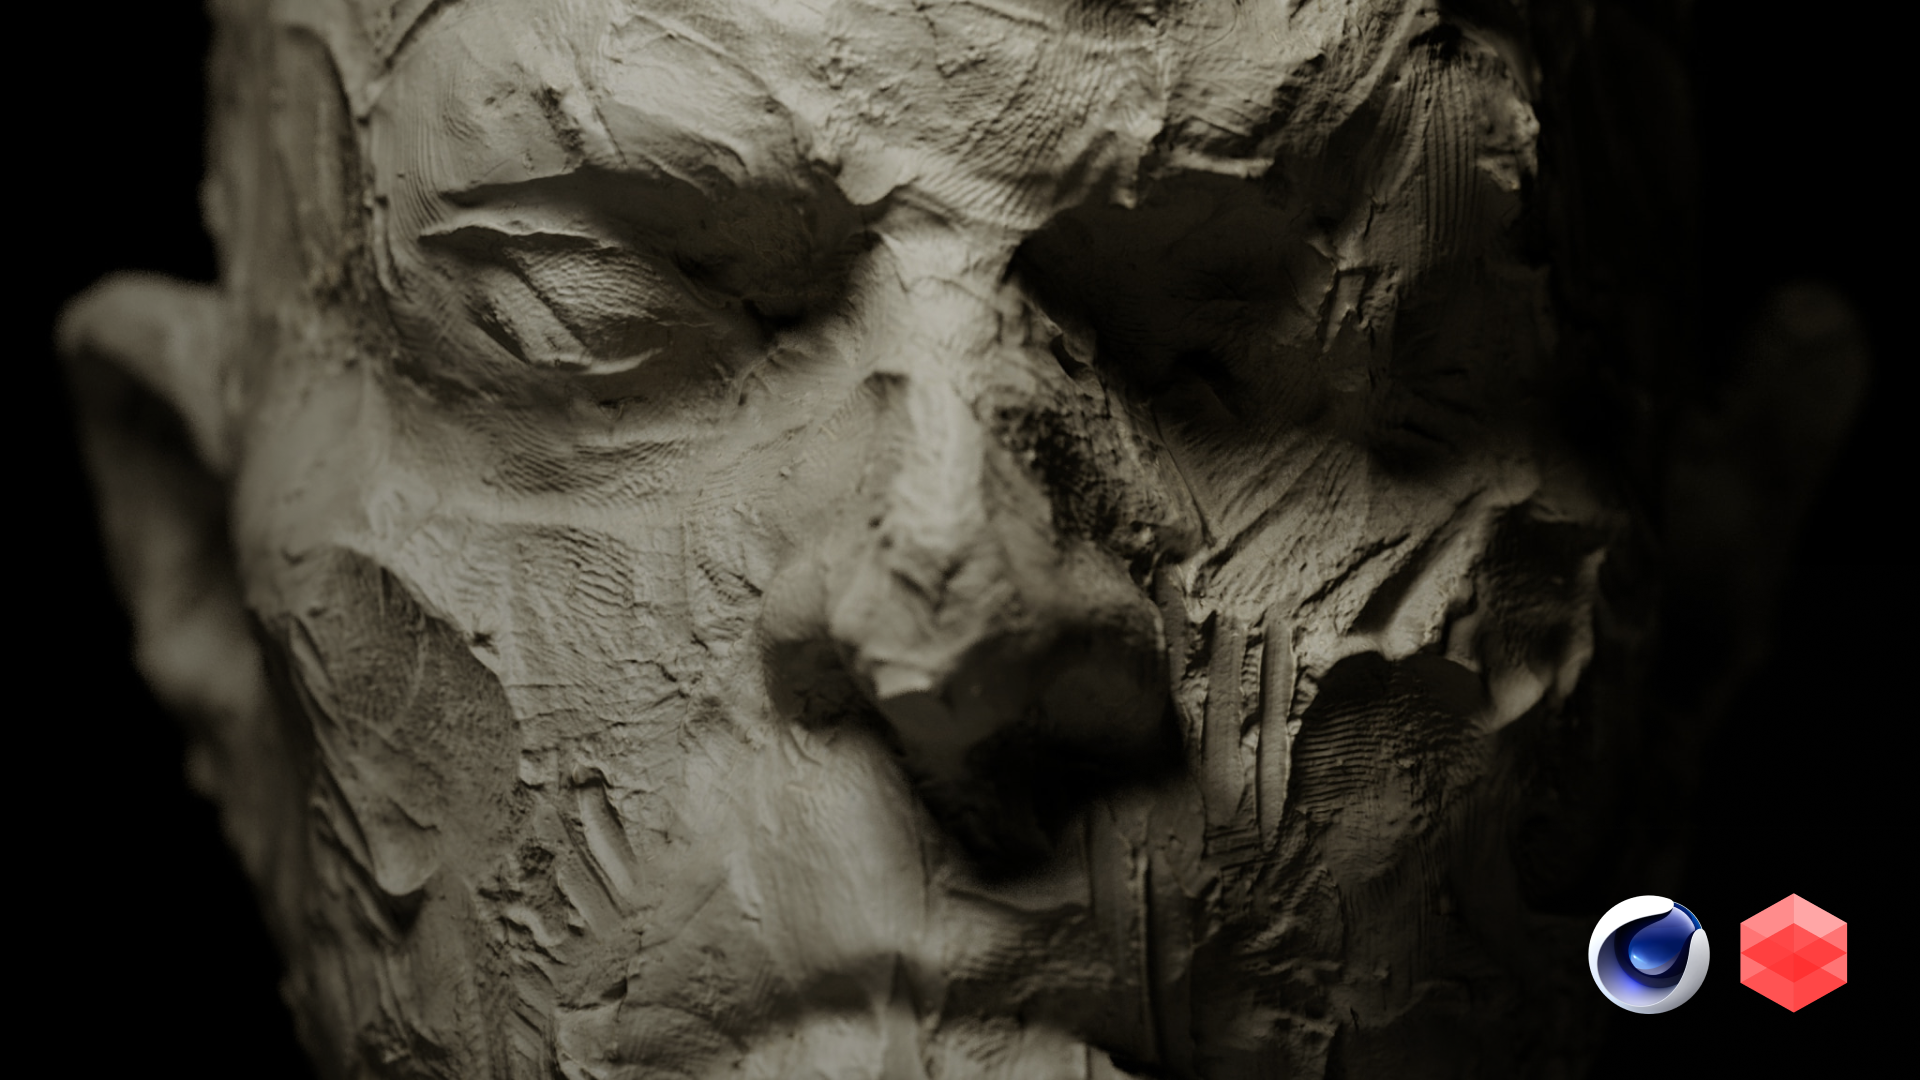
Build a realistic clay bust render fast in Cinema 4D using Studio and Redshift.
You don’t need to spend hours sculpting to get that handcrafted, tactile look in your renders. You just need the right tools.
In this tutorial, Nick will show you how to create a detailed clay bust render in Cinema 4D with Redshift and Studio. No endless tweaking. No guesswork. Just results.
The Problem: Sculpted Clay Renders Usually Take Forever
You want that sculpted, thumbprint-perfect clay look, but getting there is a hassle. Most materials feel too digital, lighting setups get complicated fast, and dialing in displacement eats up way more time than it should. What should be a simple, artistic render turns into a technical grind.
The Solution: Greyscalegorilla Studio and Real Clay Materials
This setup fixes all of that:
- Studio gives you instant access to handcrafted, scan-based clay materials.
- Signal adds natural, no-keyframe camera movement.
- Redshift Starter Scene handles your lighting and rendering right out of the gate.
- Clay Rough Materials give your model real-world surface detail without touching ZBrush.
It’s everything you need to get high-quality results, without the usual hassle. Skip the shader tweaking, the lighting headaches, and the animation guesswork. Just drop in your model and get straight to making beautiful, believable renders.
Step 1: Start with a Scene That’s Already Lit
Open Greyscalegorilla Studio and grab the Redshift Starter Scene. It’s pre-built with balanced lights, cameras, and render settings, so you can skip the setup and get straight to creating.
Step 2: Add a Bust
Ditch the default cube. Search “bust” in your Content Browser and drop in the default male bust. Clean, simple, and effective.
Step 3: Real Clay in One Click
In Studio, search for Clay Rough. Pick one with visible tool marks, like Clay Rough White 10, and click send. The built-in displacement instantly gives it that sculpted, thumb-pressed realism.
Pro tip: You can tweak the displacement strength in the Redshift Object Tag for more control. Not sure how? We’ve got a full breakdown on using displacement with Greyscalegorilla materials right here.
Step 4: Dramatic Lighting Without the Hassle
From Studio, grab a Softbox Area Light Map using SmartSend. Animate it slowly with Signal to keep light movement subtle but dynamic. Turn off the HDRI background for a clean, dramatic black void.
Step 5: Animate the Camera, Minus the Keyframes
No need to keyframe anything. Use Signal again to add a slow, loopable camera wiggle. Just enough movement to keep things alive.
Step 6: Hit Render, Done
With the Starter Scene, your Redshift settings are already in a good spot for look development. For a final render, just bump up your samples for cleaner detail (0.03 for the Unified Sampling Min is a solid starting point). Switch on the OIDN Denoiser to quickly clean up any shadow noise without sacrificing detail.
You’ll get a smooth, high-quality render without wasting hours dialing in settings. Done and rendered, fast.
Try It Yourself
Want that sculpted, handmade look without the hassle? All you need is Greyscalegorilla Plus, Studio, and Redshift. With real clay materials, built-in lighting setups, and a ready-to-render starter scene, everything’s designed to get you great results fast.
Just open Studio, drop in your clay, and see how quickly you can build something beautiful.