
Steal Chad Ashley's Plywood Rendering Workflow
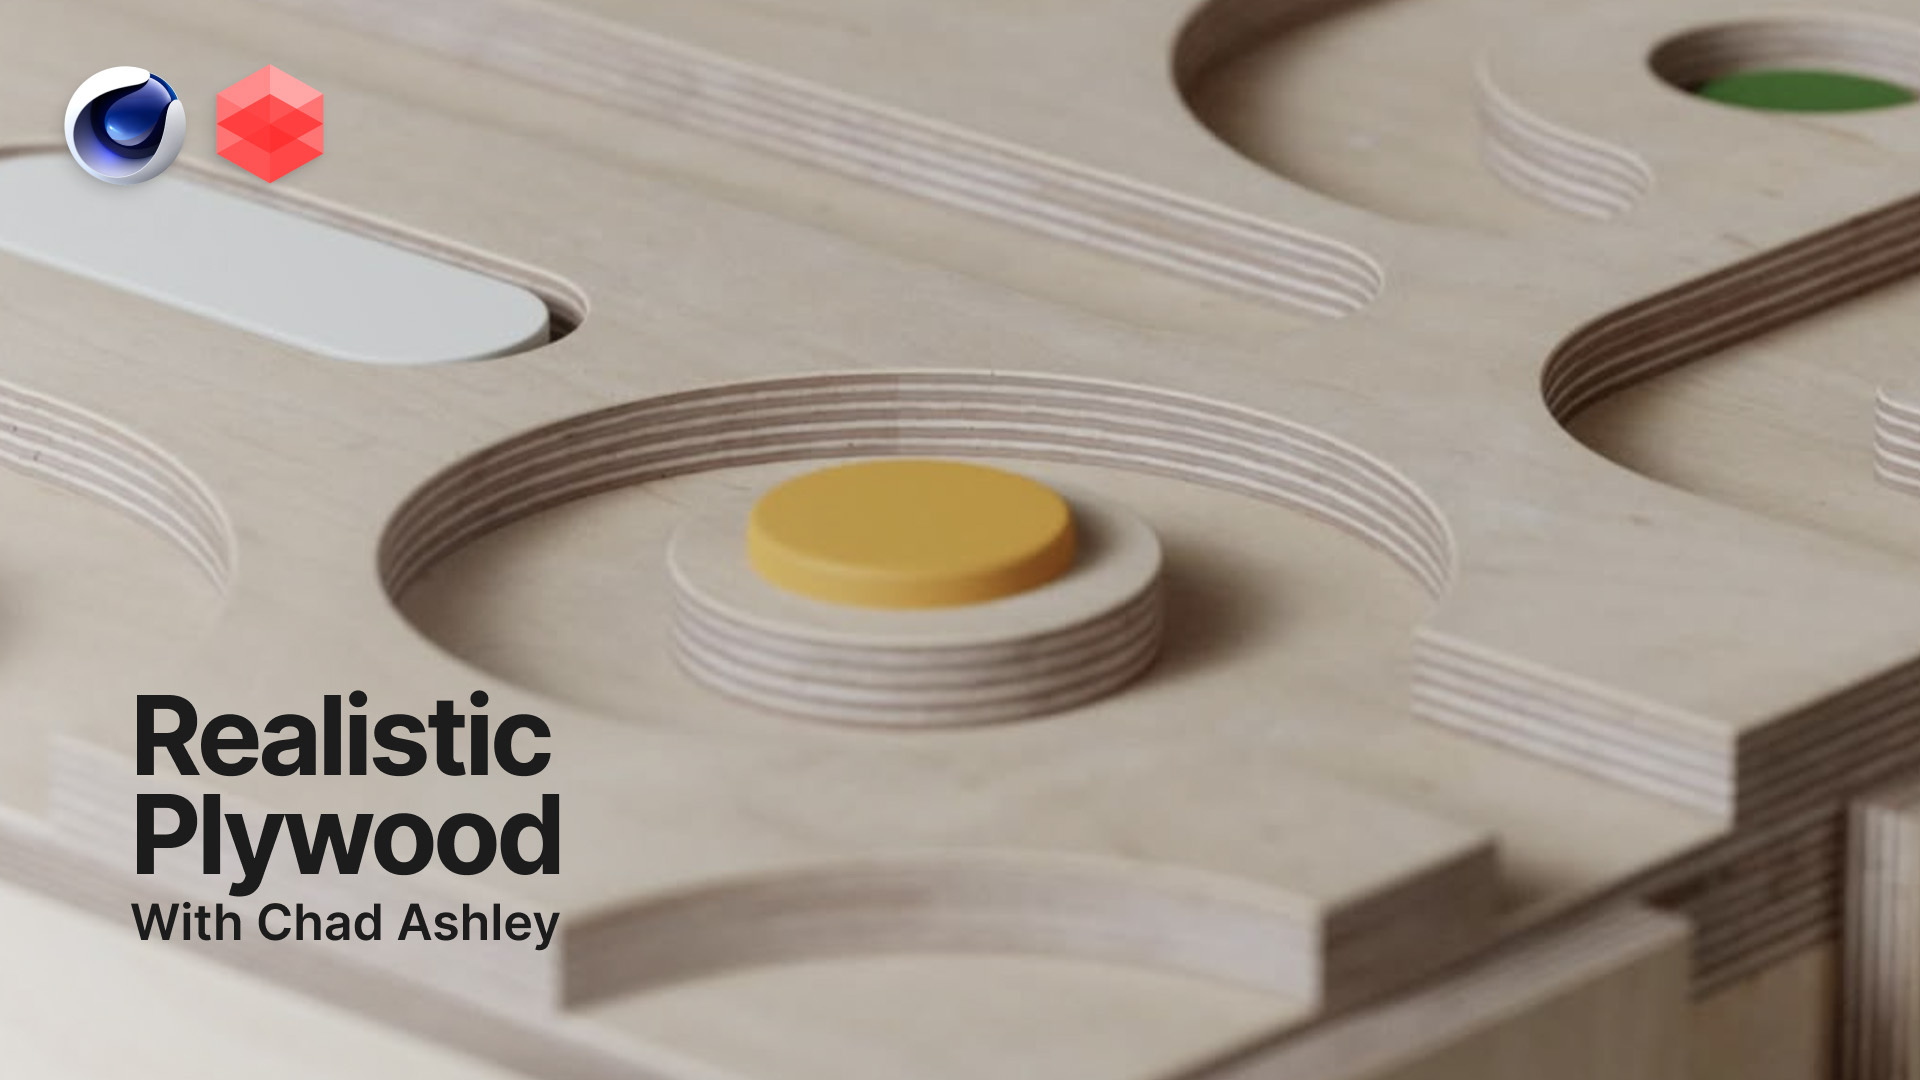
Ever wonder how Chad Ashley creates such convincing plywood renders? In this behind-the-scenes conversation with Nick Campbell, he breaks down his workflow and shares practical tips for modeling, materials, lighting, and composition that you can apply to your own renders.
In this workshop-style walkthrough, Chad takes you behind the scenes of one of his signature plywood renders, sharing the workflow he uses to create clean geometry, realistic plywood edges, and polished product visuals in Cinema 4D and Redshift. From designing custom plywood cutouts in Figma to assigning materials and refining textures, he demonstrates how simple techniques can produce impressive results.
Beyond the technical workflow, Chad also dives into the creative decisions that elevate a render. He shares his approach to composition, lighting, camera placement, depth of field, and color grading, explaining how subtle adjustments can make a render feel much more photographic.
To wrap things up, Chad flips the script by critiquing Nick Campbell's plywood render, offering practical feedback on composition, lighting, and scene setup. Whether you're looking to improve your material workflow or create more compelling product renders, this video is packed with techniques you can put to use right away.
Assets & Tools Used
Want to follow along? Here are the Greyscalegorilla assets featured in this workflow:
- Plywood Materials: Chad uses the Plywood Edges materials to create the realistic layered plywood look.
- Wood Veneers: Used for the top surfaces to add natural grain and subtle contrast.
- Focus Null Workflow Script: Quickly create and position a focus point for precise depth of field control in Cinema 4D.


