


Stop Over Lighting Your 3D Scenes
Control where your light goes, not just how bright it is. Using Snoot, Nick shows how to create focused beams of light in Cinema 4D while keeping the soft shadows and natural falloff of an area light.
In this tutorial, Nick shows a common way to create focused beams of light using an area light and the limitations that come with it. While setting the light's spread to zero can create a tight beam, it also produces much harder shadows. Another option is to use geometry to block the light, but that quickly becomes difficult to manage when you need to move or resize your light.
That's where Snoot comes in.
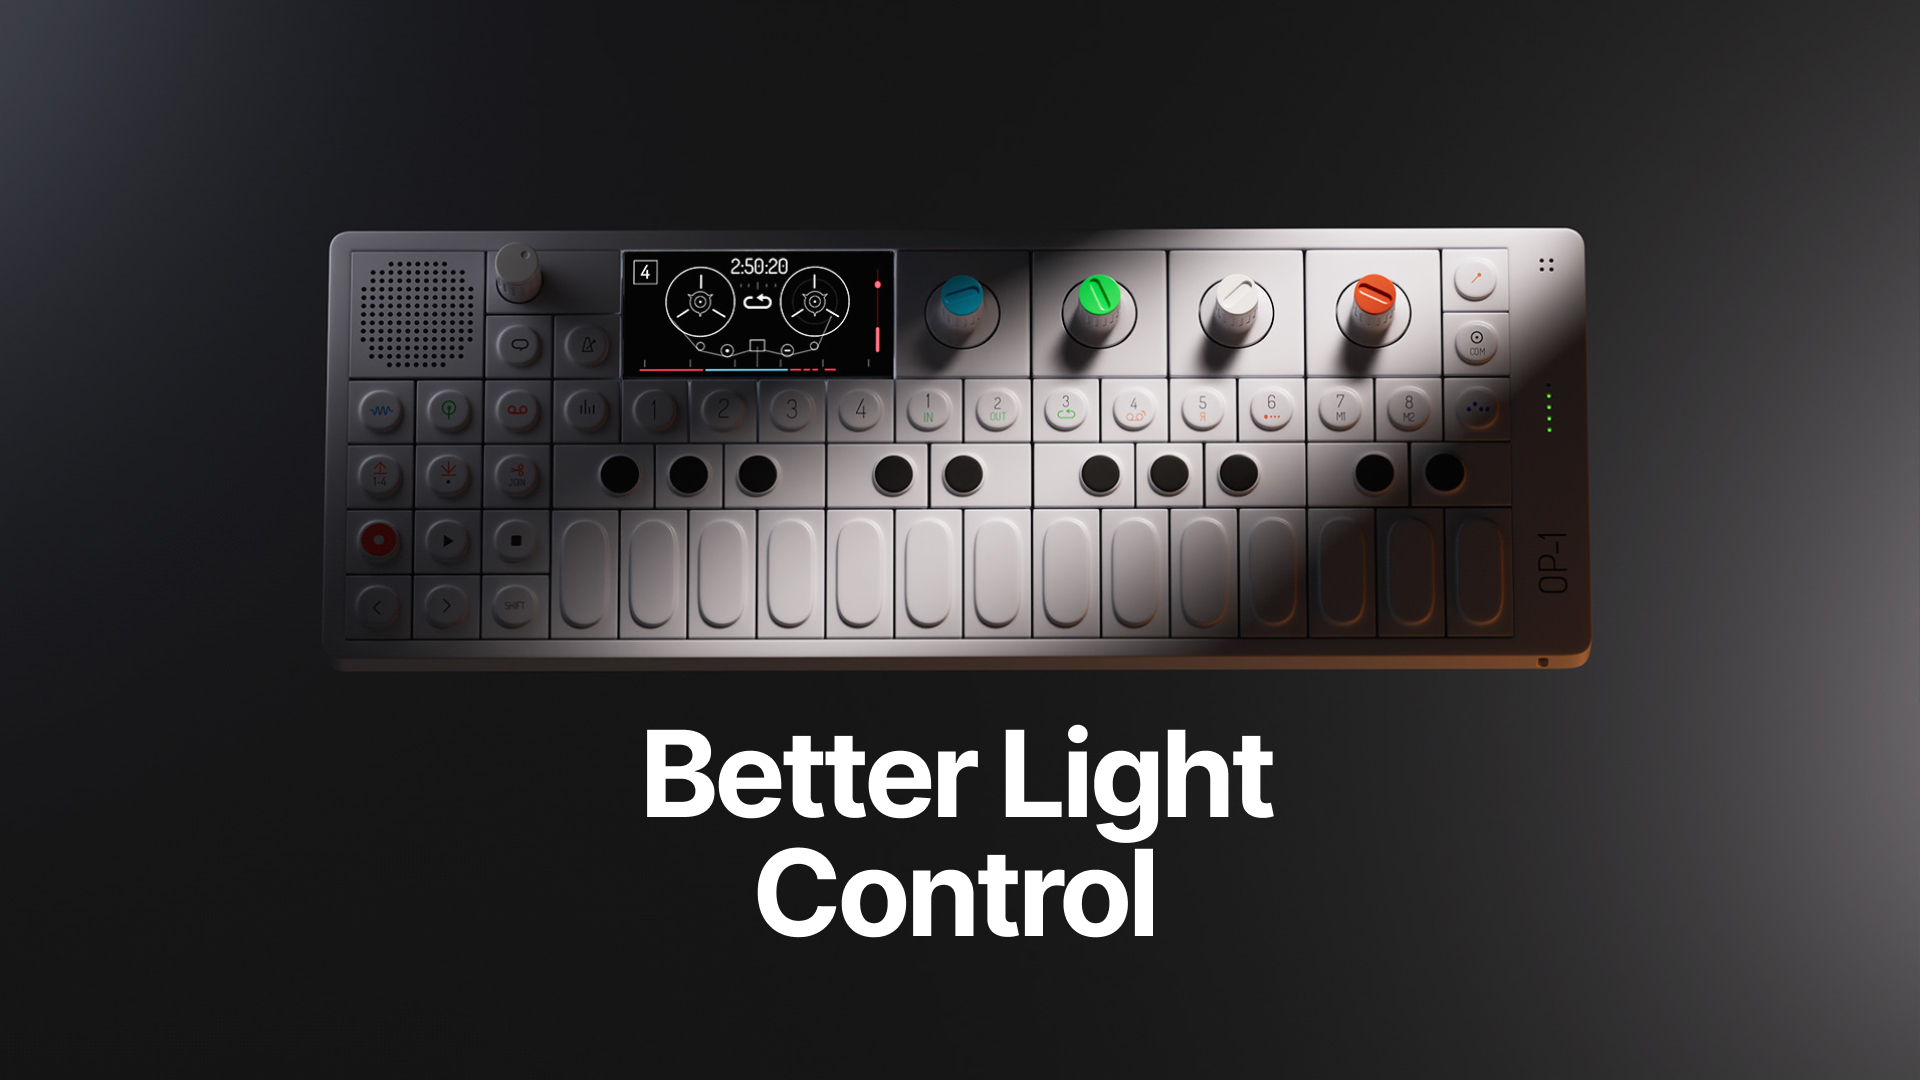
Inspired by the real-world lighting attachment photographers use to control the throw of a light, Snoot mounts directly to your area light and lets you shape exactly where the light goes. By adjusting the length, radius, and shape of the snoot, Nick creates everything from a tight pool of light on a keyboard to a dramatic beam across a scene.
He also shows you how Snoot can be used to control light spill, keeping unwanted illumination off a background while maintaining the lighting on your subject. In another example, Nick uses it to create a directional beam of light through a room, then demonstrates the same workflow in Octane.
Throughout the tutorial, Nick focuses on a simple idea: you don't always need more light. Sometimes you just need more control.
Snoot works with Redshift, Arnold, and Octane and gives you a fast, flexible way to shape light in your Cinema 4D scenes.
Ready to take control of your lighting? Subscribe today and start using Snoot as part of your Cinema 4D workflow.