


What Is My Render Missing? (Imperfections and Light Textures)
Feel like your 3D render is missing something? It might be that you need to play around with some image textures.
What is an image texture?
A Greyscalegorilla texture is standalone single image texture map, like a photo or pattern, that is used to add details such as roughness, color, or surface imperfections. Textures can be used on their own, such as gobo lighting textures and area light maps, or serve as one part of a material.
In my experience, any render that I felt ended up looking the way I wanted to always includes one of these things. A gobo, area light map, or surface imperfection always adds that little bit of extra detail or texture that makes something really look realistic (if that’s what you’re going for) or professional.
So, here’s a little rundown on how to get a bit more detail in your work.
Greyscalegorilla Plus members have access to hundreds of area light maps, gobos, and even HDRI within the Studio desktop app.
If you aren’t a member, you can download the Studio app and connector for Blender (or your 3D app of choice) and get 50+ free assets, including a selection of gobos, textures, materials, and more.

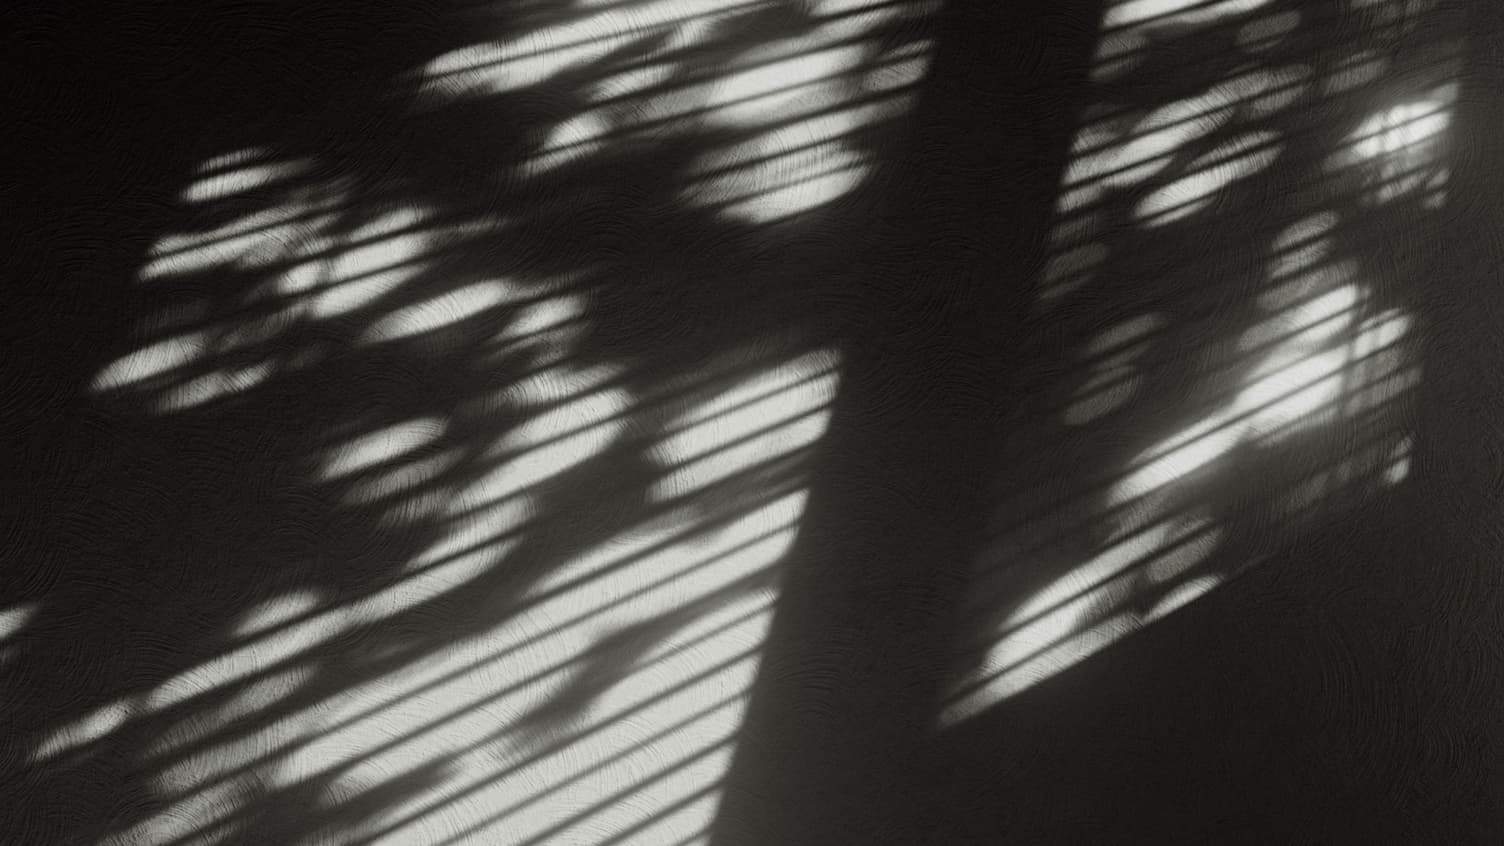
Gobos
If you’ve ever seen a play or a movie (I’m going to go out on a limb and assume this is the case), you’ve probably seen a gobo at work in real life. A gobo refers to a pattern that is placed in front of a light source in order to change the pattern that is projected. A gobo usually looks like a small metal disc that you can slide into your light fixture. The patterns created by gobos are often window blinds, tree limbs, or abstract shapes that help to create an interesting illusion or light source.
In terms of working in 3D, gobos are very useful because they can create lighting effects without the need for extra geometry or elaborate setups. You can just plop a black and white image and connect it right to your light and it will project whatever pattern is in the image. In Greyscalegorilla Plus, we have a whole slew of different gobo options to choose from. We have anything from window blinds to flashlights and everything in between.
If you want to use a gobo in Blender, all you have to do is create a spotlight, turn it up pretty bright (so you can see the effect of the gobo), and open up the shader editor. In the shader editor, with your light selected, you can check the “Use Nodes” toggle switch right at the top. This will create an emission node that has a handy little “color” slot. This is where you’d drag in your image texture / gobo file (or if you’re using Greyscalegorilla Studio just copy the path and paste it into an image texture node) and connect it to the “color” slot. Boom. Gobo.
If you want to customize the look of the Gobo, you can change the spot size to make the overall pattern bigger. If you think the pattern created by the gobo is too harsh or sharp, you can change the actual size of the fixture itself with the “Radius” slider in the light options panel. Making the radius bigger will soften the shadows.
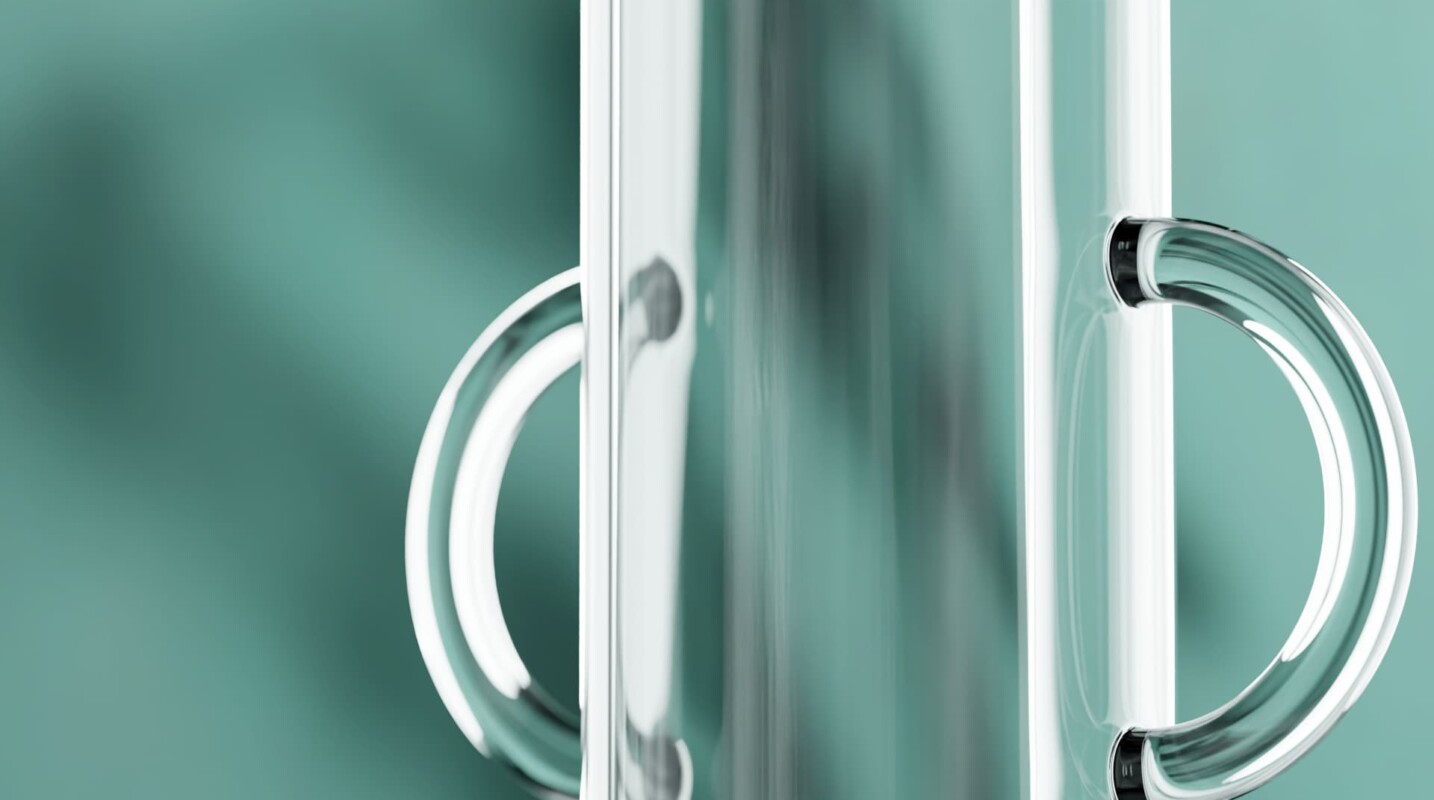
Subtle Surface Imperfections
Clean Material

Greyscalegorilla Subtle Surface Imperfections
Surface Imperfections
Almost nothing in the real world is entirely clean. As someone who has spent a good amount of time doing product videography/photography, trust me—no matter what you do, there will always be a speck of dust or a piece of hair or even a tiny tiny smudge on your subject.
Therefore, if you’re trying to make something look super realistic, you might (keyword there, might) want to add in some surface imperfection. Obviously, a huge benefit of doing product visualization in CG is that you can have a perfectly pristine looking product. However, if you’re really trying to fool the viewer into thinking what you’re making is real, that’s where you want to consider surface imperfection. We’re talking about things like deep scratches, light scratches, smudges, hair, crust, and anything else you’d want to make your object look… well, dirtier.
To add a surface imperfection to your object, particularly if it’s a shiny object, all you need to do is connect your image texture (with some smudges or scratches on it) to the roughness slot in your shader. You might need to fix UVs or remap some things, but that’s all there is to it.
To control the amount of surface imperfection, you can always add a color ramp node. Bringing the lighter side of the ramp closer to the darker side will effectively add more contrast to your image texture, therefore making the surface imperfection a bit punchier or more noticeable. You can also drop in a math node and change it to multiply. You’ll want that right after your color ramp node, and before your shader (roughness slot). This will give you a slider that basically “turns up” the amount of surface imperfection.
Lighting with Area Light Maps

Default Blender Lighting

Greyscalegorilla Area Light Maps
Area Light Maps
An area light map is a beautiful thing. It gives you the ability to make a boring, square, and ultimately lifeless area light into something that behaves a little more like a real light on a real film set. This comes into play particularly with reflections.
When lighting a reflective object, in the real world or in 3D, you need to pay close attention to the way your reflections look. Reflections are what lights reflective objects, not the light itself. So if you want interesting reflections, a plain boring area light isn’t going to cut it. There aren’t really any perfect edge to edge white square lights in existence (aside from maybe an arri litepanel but thats beside the point). So, that’s where an area light map comes in.
To connect an area light map to your area light, it’s pretty similar to a gobo. You need to click the “use nodes” button in the shader editor, and then connect your area light map to the color slot on your emission node. This will give your area light the reflections (and a bit of the light quality/color) of the area light map. Whether it’s a big softbox look you’re going for, or perhaps a couple of small tube lights to give your product that perfect specular highlight, it’s always going to be an improvement over an unnatural white square.
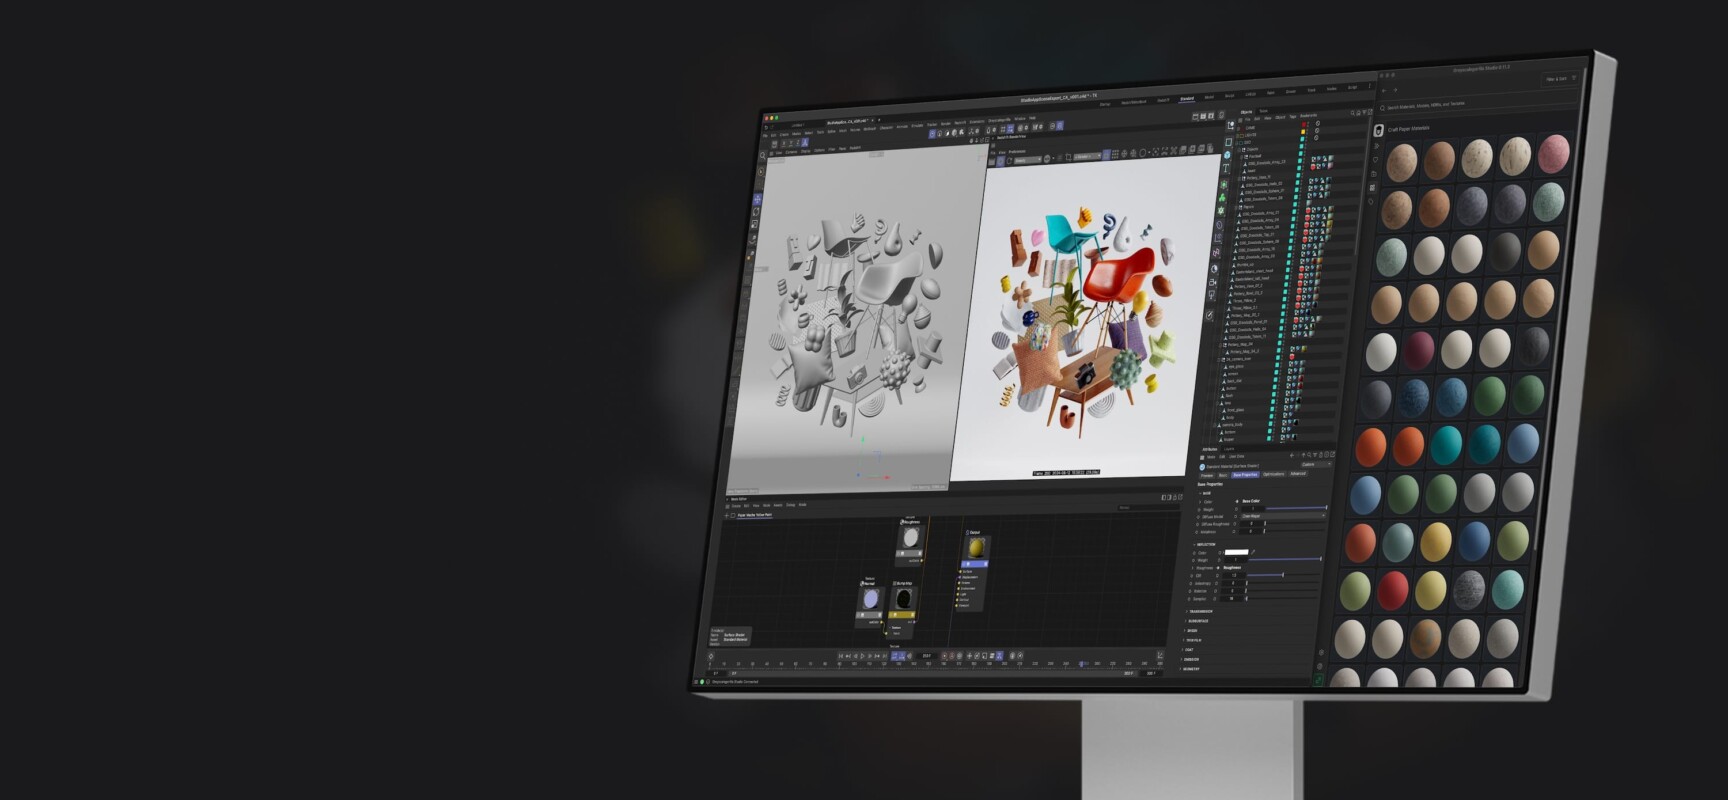
Improve your workflow with Studio
Get Greyscalegorilla Studio, the desktop app that helps artists stay in the flow and puts the entire Plus library at your fingertips—instantly.