Learn how easy it is to create a sci-fi foggy atmosphere in Cinema 4D using Redshift’s volume scattering.
In this preview lesson from the Greyscalegorilla Plus Guide to Redshift, you’ll learn how easy it is to create a Blade Runner-style atmosphere using volume scattering.
Create Fog Using Redshift for Cinema 4D
This is quite simple to setup, just follow these steps and adjust to your liking.
Step One: Create Environment

Go the the Redshift tab, open the Objects menu, and select Redshift Environment.
Step Two: Light Settings

Navigate to your Redshift lights, in this example I’m using a yellow Area Light. Click on the Volume tab and adjust the Contribution Scale to 1.
Step Three:

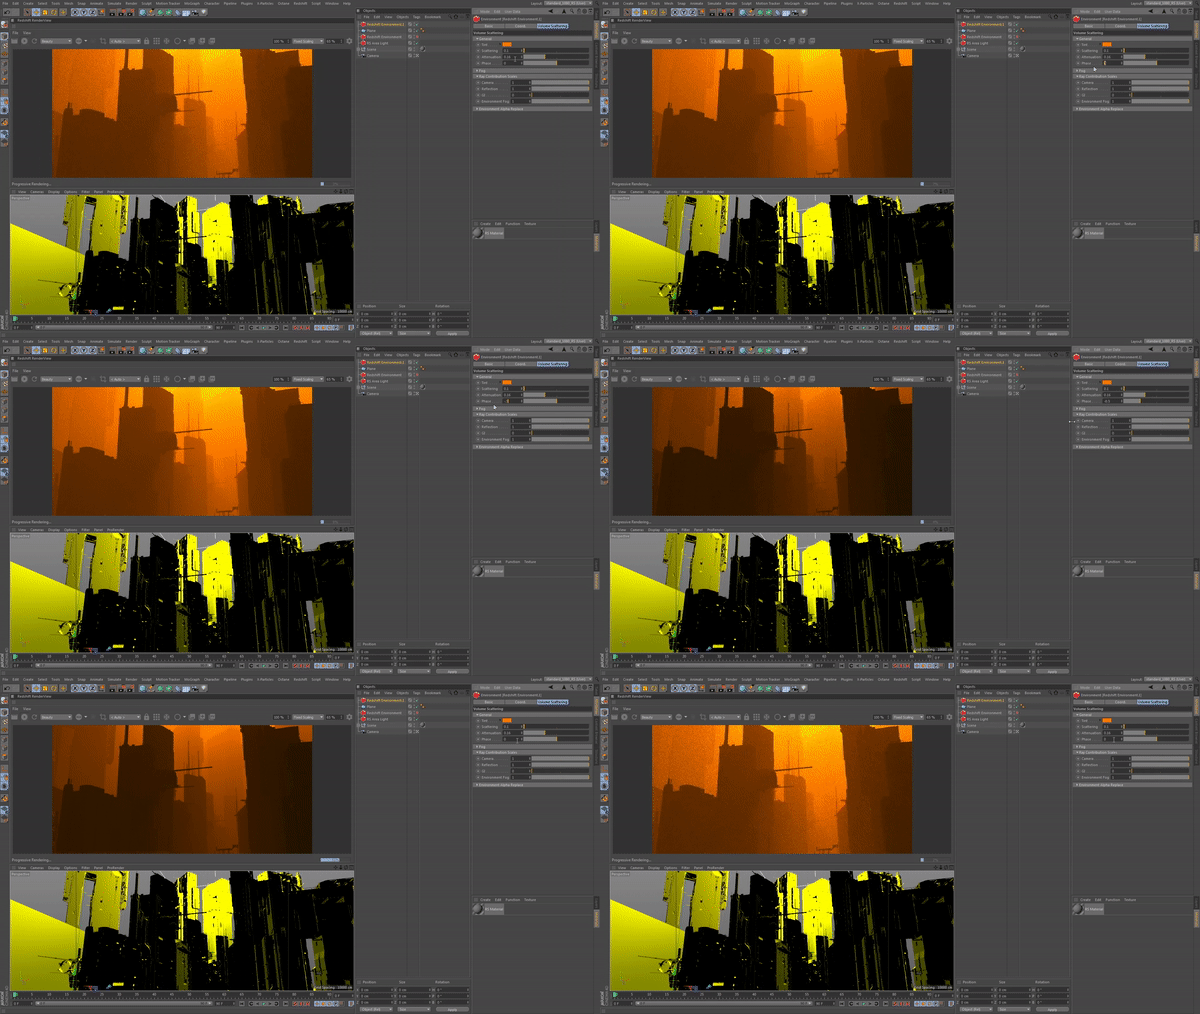
Head back into your Redshift Environment, select the Volume Scattering tab, under General adjust the tint to the second color you want to use. I have a yellow light in my example, so I will use an orange tint to get the look I want.
Step Four:
Adjust the Scattering amount, for this example I’ll set mine to 0.1. Now adjust your Attenuation, I’ll set mine to 0.16. You’ll now see how the yellow light falls off into the orange.

Now you adjust the Phase to bias the amount of scattering either towards or away from the camera. I’m actually going to leave this at 0 since I like this look.
That’s it, that’s all it takes. Hope you enjoyed this quick lesson.

1 Comment
I try to make a ground fog…how? did a lot of test…also in the fog section…(there what i see I dont find any good explanation about this section..but i did..the height..all values..nothing that looks like a ground fog..Could you or know you the solution?