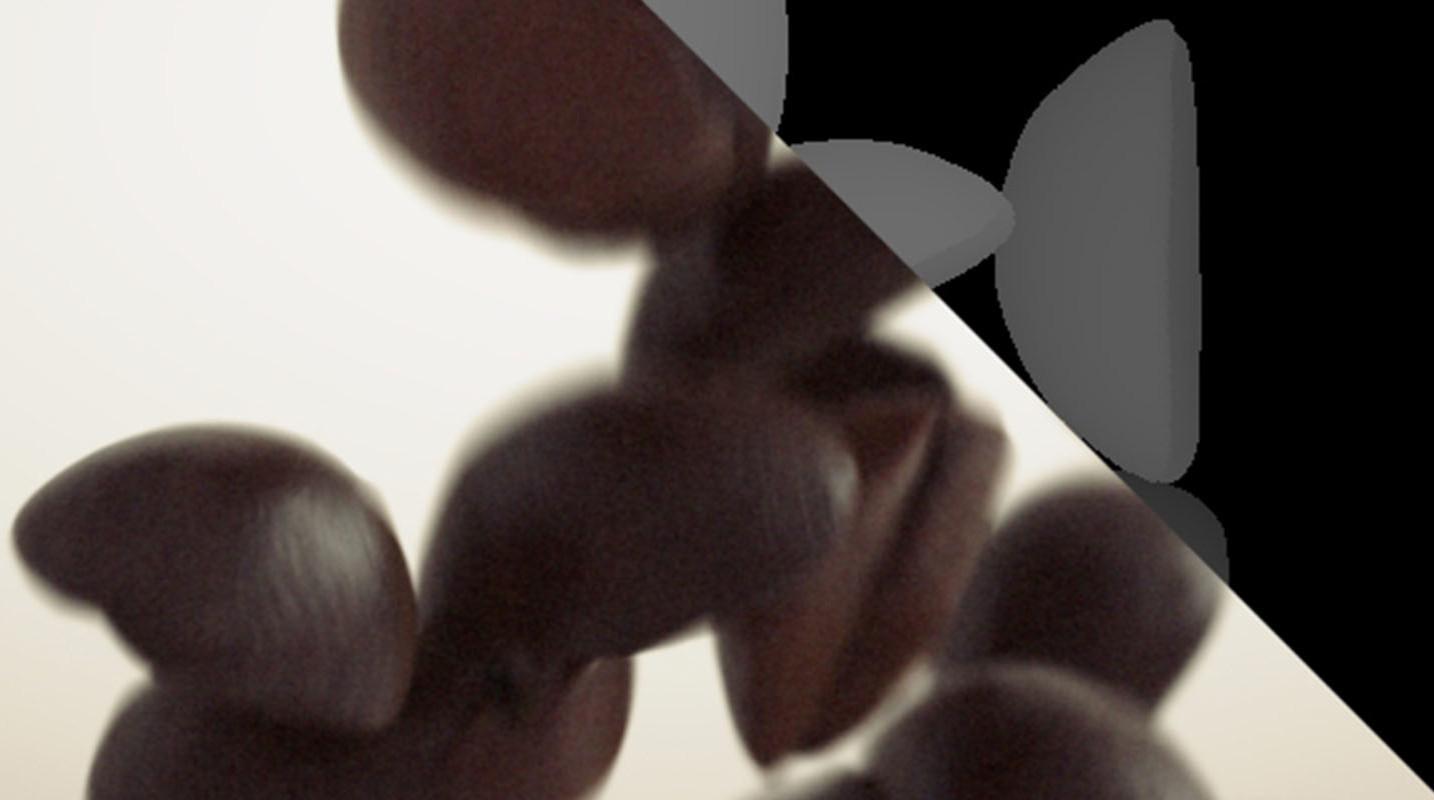
Add Depth of Field and Motion Blur to Cinema 4D renders in post.
This question comes up all the time:
“What is the correct workflow for doing Depth of Field and Motion Blur in After Effects? Cuz when I use the z-pass I get this odd fringing in AE and the vector pass is confusing.”
Well, we have you covered! I know what you’re thinking. I just turn on the zpass right? Well, Yes and no.
This tutorial is about saving a TON of render time by NOT having to render your Depth of Field and Motion Blur in C4D’s Physical Renderer. With a couple of After Effect plugins and the correct workflow, you can save yourself potentially hours of rendering.
What you will learn:
- How to add Motion Blur and Depth of Field to your C4D render in After Effects
- What is needed out of a Depth Pass to achieve proper results with Frischluft Lenscare
- What a “Position” pass or WPP is and how it can be used to generate a correct Depth pass
- How to set up a multi-layer EXR output for After Effects
- How to properly set up your After Effects comp with Frischluft Depth of Field and RSMB plugins (see links below)
Tools you’ll need:
- Cinema 4D R15 or Above
- After Effects CC
- Frischluft Lenscare
- Real Smart Motion Blur or RSMB by Re:Vision
Note About the Tutorial
So Ihab in the comments found a mistake, so thanks, Ihab! Looks like I grabbed the regular RSMB plugin and not the Pro Vector version which reads your vector pass. Sorry about that folks. Grabbing this Pro Vector version and choosing your vector pass will give you more accurate motion blur results.

1 Comment
Hi,
this is a very helpful tutorial! Thank You!
Though i found two things to be incorrect:
At 21:00: As far as i know alt motion source has nothing to do with a vector pass that could drive motion blur. This feature is only available in RSMB Pro and it’s one of the main differences to regular RSMB.
At 21:45:
As far as i know adjustment layers do NOT affect hidden layers that drive other layers’ effects!
cheers