Our Biggest Sale Ever: Creativity Awaits!
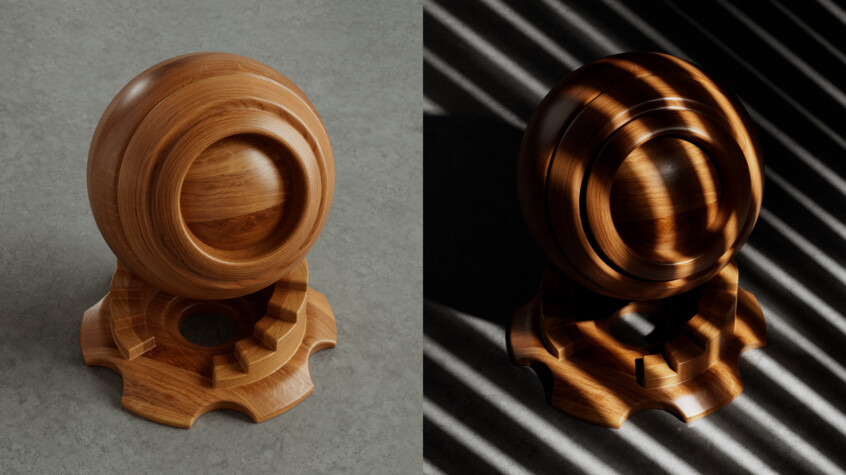
Dive into limitless creative possibilities AND save $200! Grab all the textures, HDRIs and models you need to elevate yo...
Read Article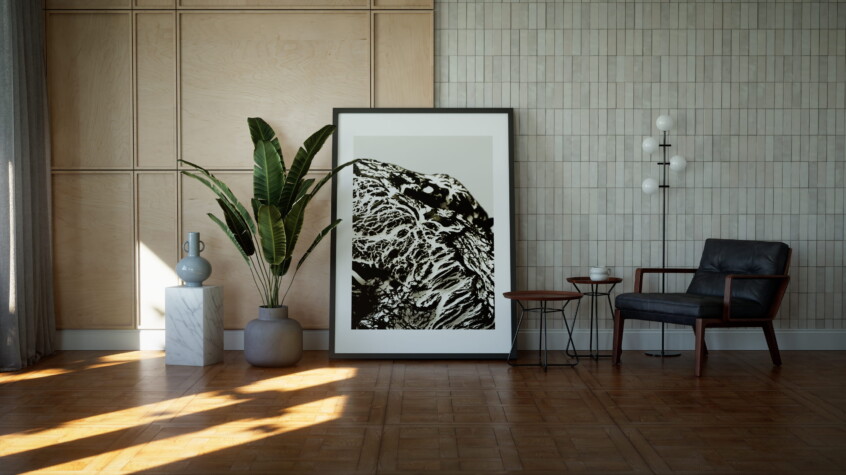
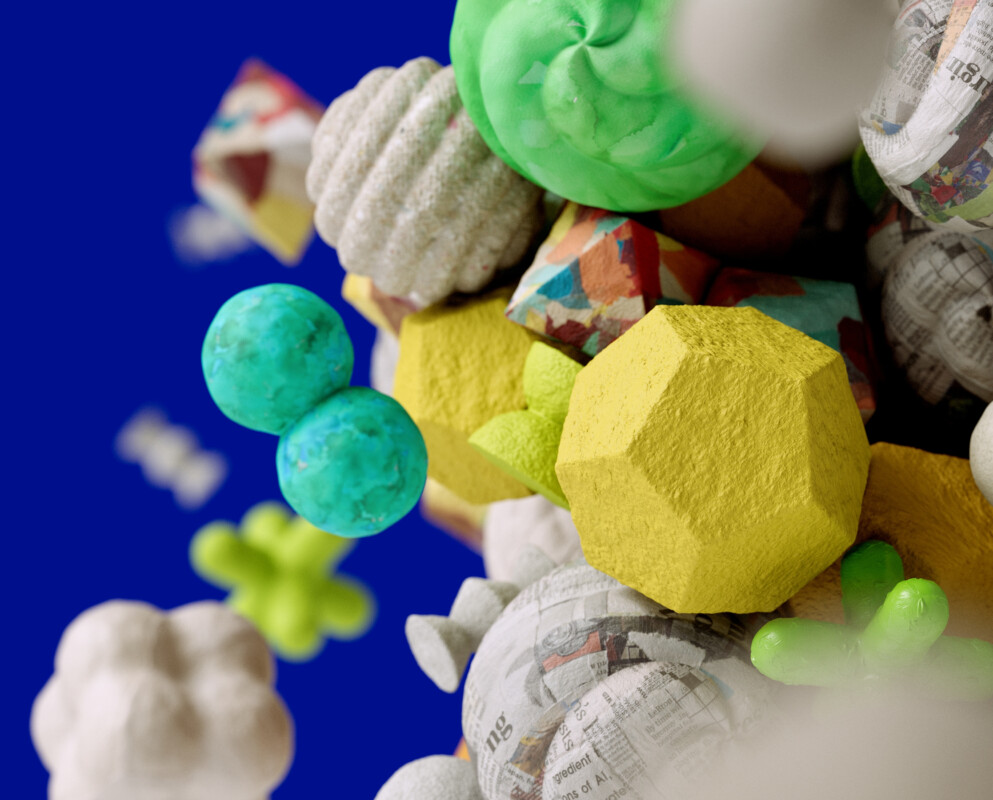
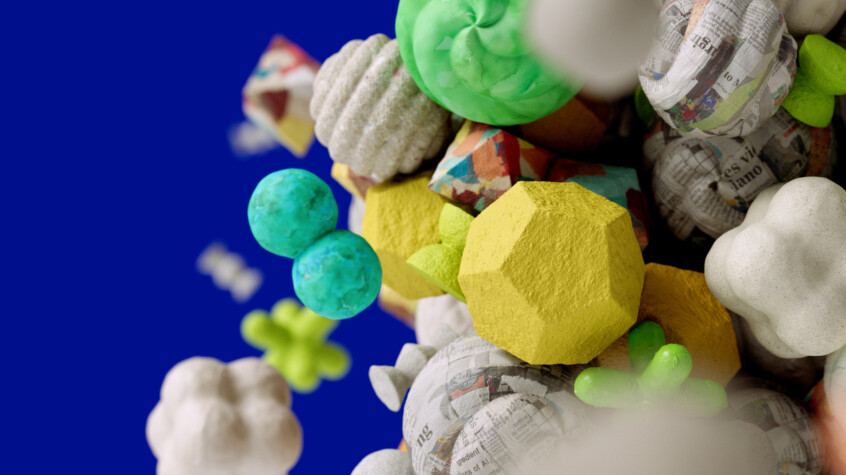
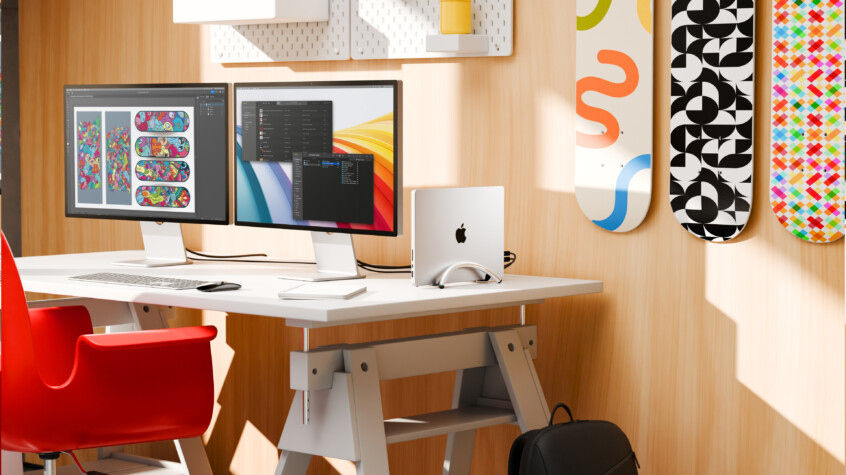
850+ NEW WAYS TO ELEVATE YOUR INTERIORS
Enrich your interior renders with over 850 brand new, high-quality assets. From timeless classics to the latest trends, ...
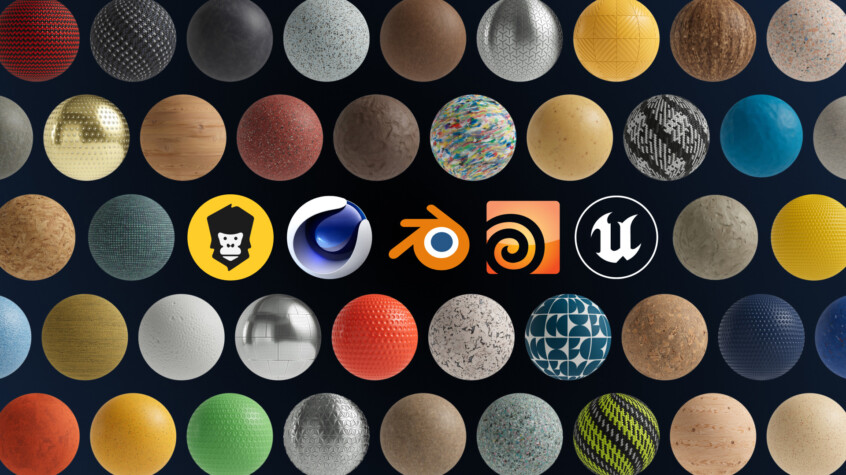
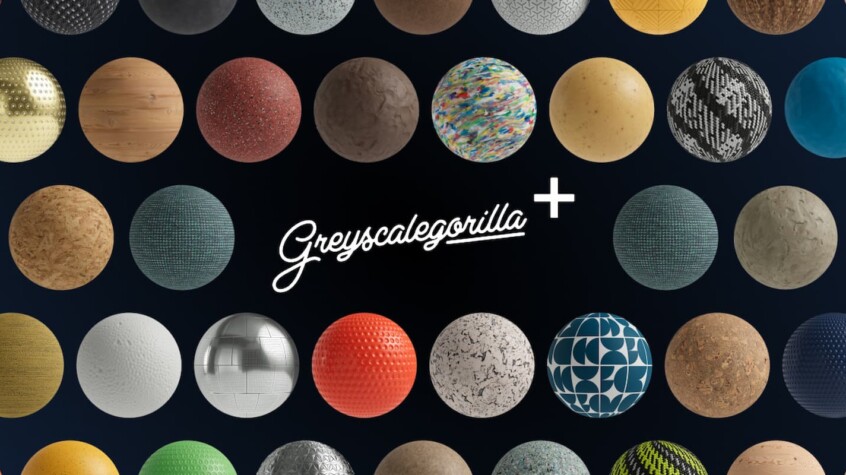
Greyscalegorilla Plus Assets Now Go Everywhere!
Now ALL 3D Artists can use Greyscalegorilla’s powerful, curated 3D assets anywhere!
FREE: SCENE FILES FOR REDSHIFT, OCTANE AND ARNOLD!
We are giving away the ultimate starter scene for your renderer for FREE!
Latest
Tutorials
One-Click Scripts for a Faster C4D Workflow!
With a single click you can change your Cinema 4D camera lenses or object rotation using these Greyscalegorilla Plus scr...
Give Your Blender Scenes a Glow Up!
Explore the creative possibilities with over 2800 Lights and Models from the Greyscalegorilla Plus Library in Blender.
Plus and Blender: Together in Action!
Learn how to seamlessly infuse 4000+ curated materials, models, and HDRIs into your workflow in Blender.
Create This Spooky Flashlight Effect
Learn how to craft immersive cinematic lighting effects with Cinema 4D, Redshift, and Greyscalegorilla Plus, perfect for...
Better Renders For Blender, Houdini, UE, C4D, and Beyond
See how 3D artists use the curated assets from our Online Library in ANY 3D application.
Latest
Articles
Our Biggest Sale Ever: Creativity Awaits!
Dive into limitless creative possibilities AND save $200! Grab all the textures, HDRIs and models you need to elevate yo...
Plus “Saves Me Hours in Blender!”
When choosing tools to save time and create high-quality renders, see why this 3D Artist's go-to is Greyscalegorilla Plu...
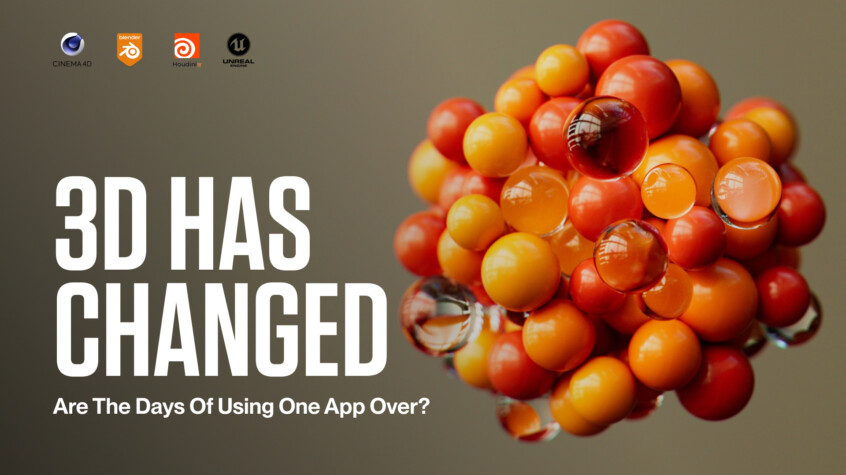
The New Era of 3D
Join our Founder, Nick Campbell, as he shares how Greyscalegorilla is keeping you up to date with the shifting 3D landsc...

Plus Lets You “Get Right to the Fun Part!”
See how Greyscalegorilla Plus handles the technical parts of 3D, allowing artists, like Nocky Dinh, to dive right into t...
Artist of the Month: January 2024
Discover why this 3D Artist says having a great toolbox, like Greyscalegorilla Plus, on hand helps you concentrate on th...